Vegan, No-Sugar, No-Pectin Homemade Strawberry Jam
This easy recipe for homemade Strawberry jam is vegan, free from any added preservatives, contains no refined sugar, pectin or edible colors. Upon refrigeration, the jam can easily last for 1.5 months.
Ingredients
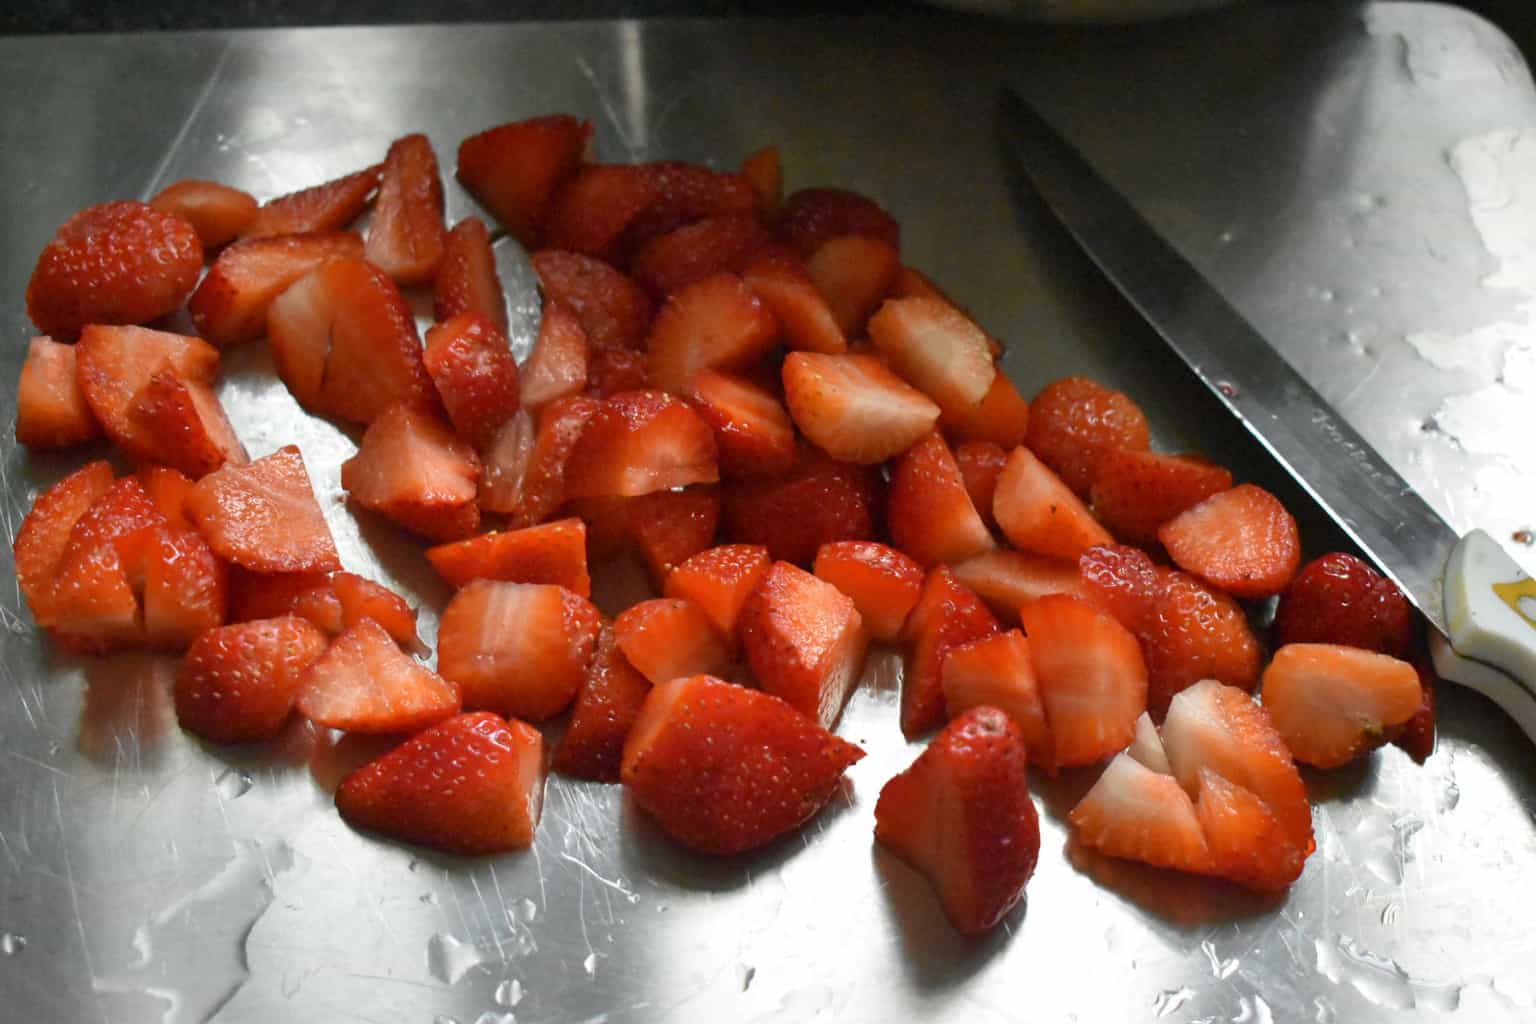
- 400 grams Strawberries Washed well & each into halves
- ½ tbsp Lemon juice Freshly squeezed. You can add small pieces of lemon rind too.
- ¾ cup Liquid Jaggery
Instructions
-
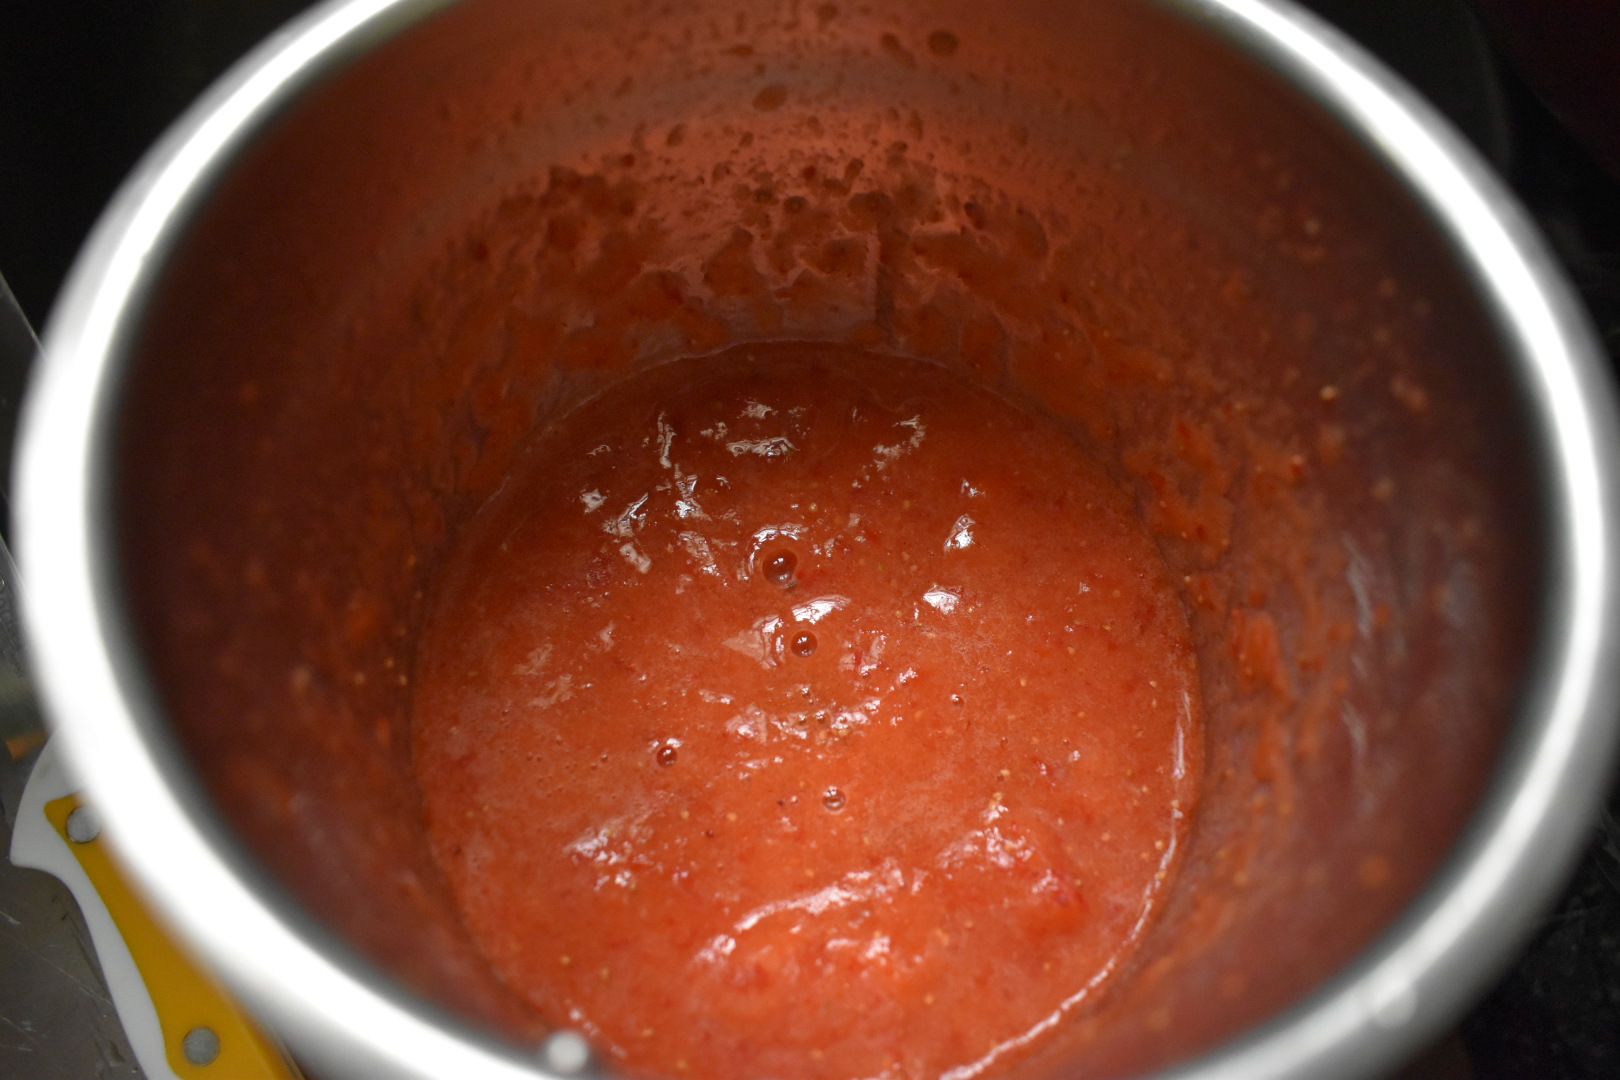
Put the cleaned & halved strawberries into a blender jar & blend well. However, it's okay if there are still some blobs of strawberries that didn't get ground into the puree. This non-uniformity can actually enhance the texture of the final jam.
-
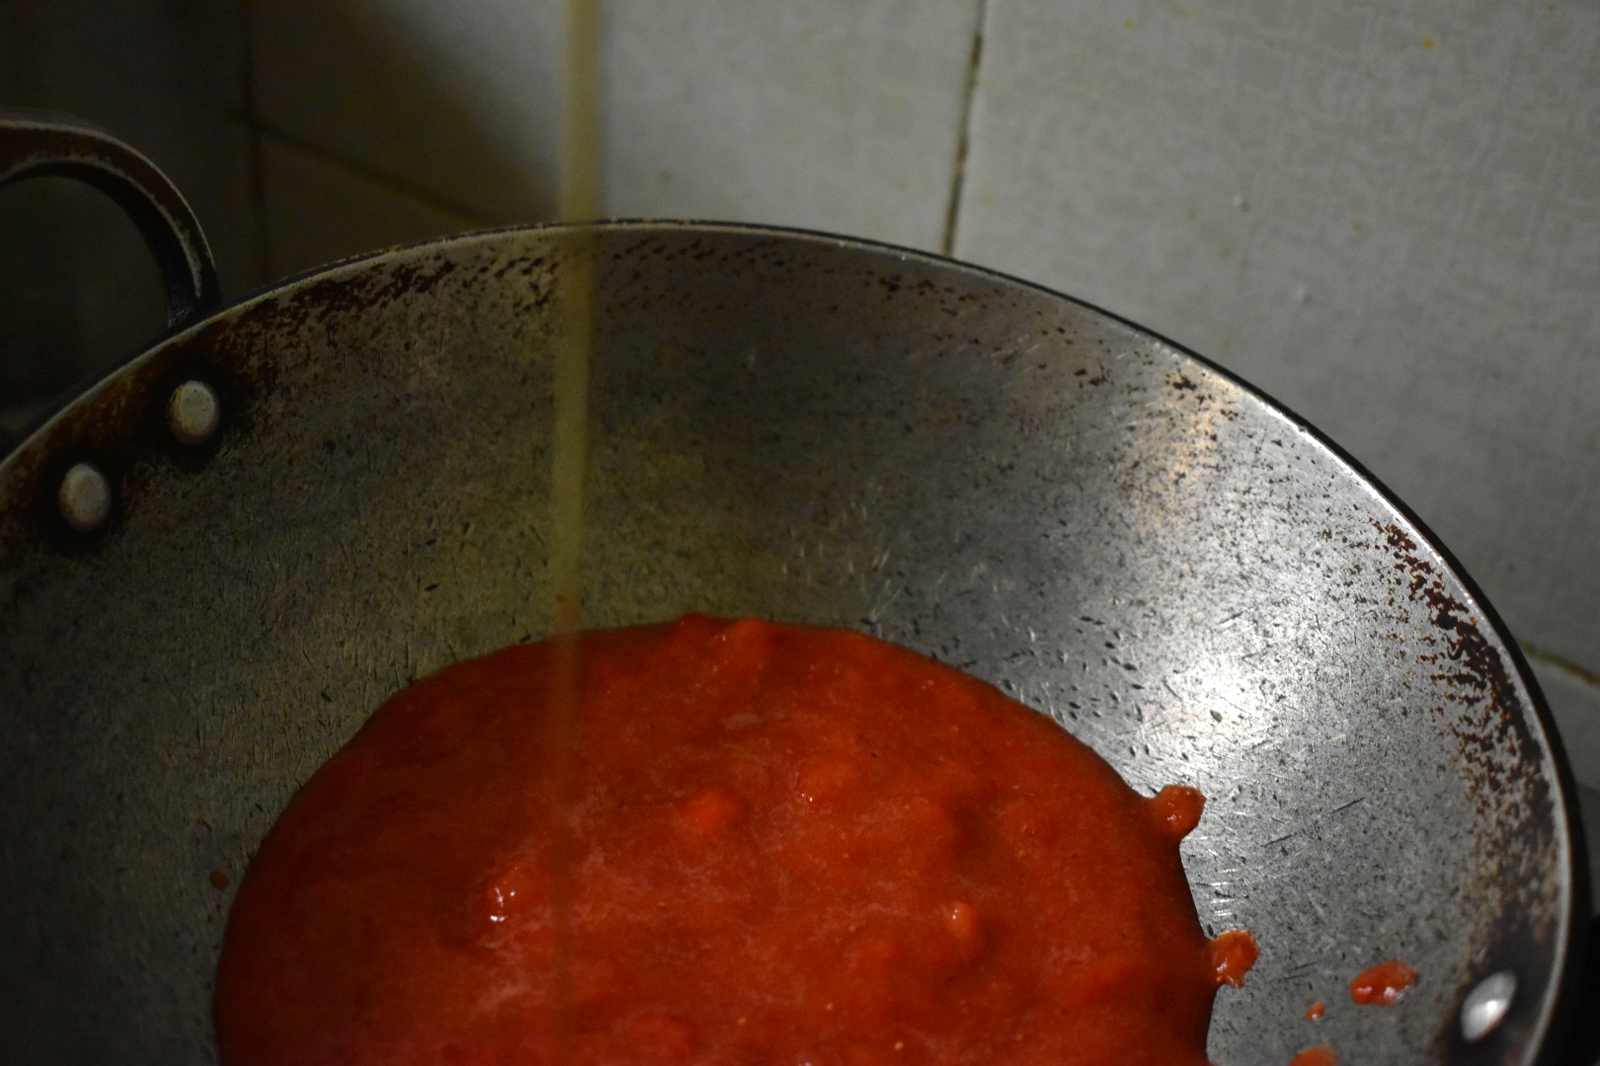
In a thick-bottomed saucepan or kadhai, add the blended puree & start heating on a medium flame.
-
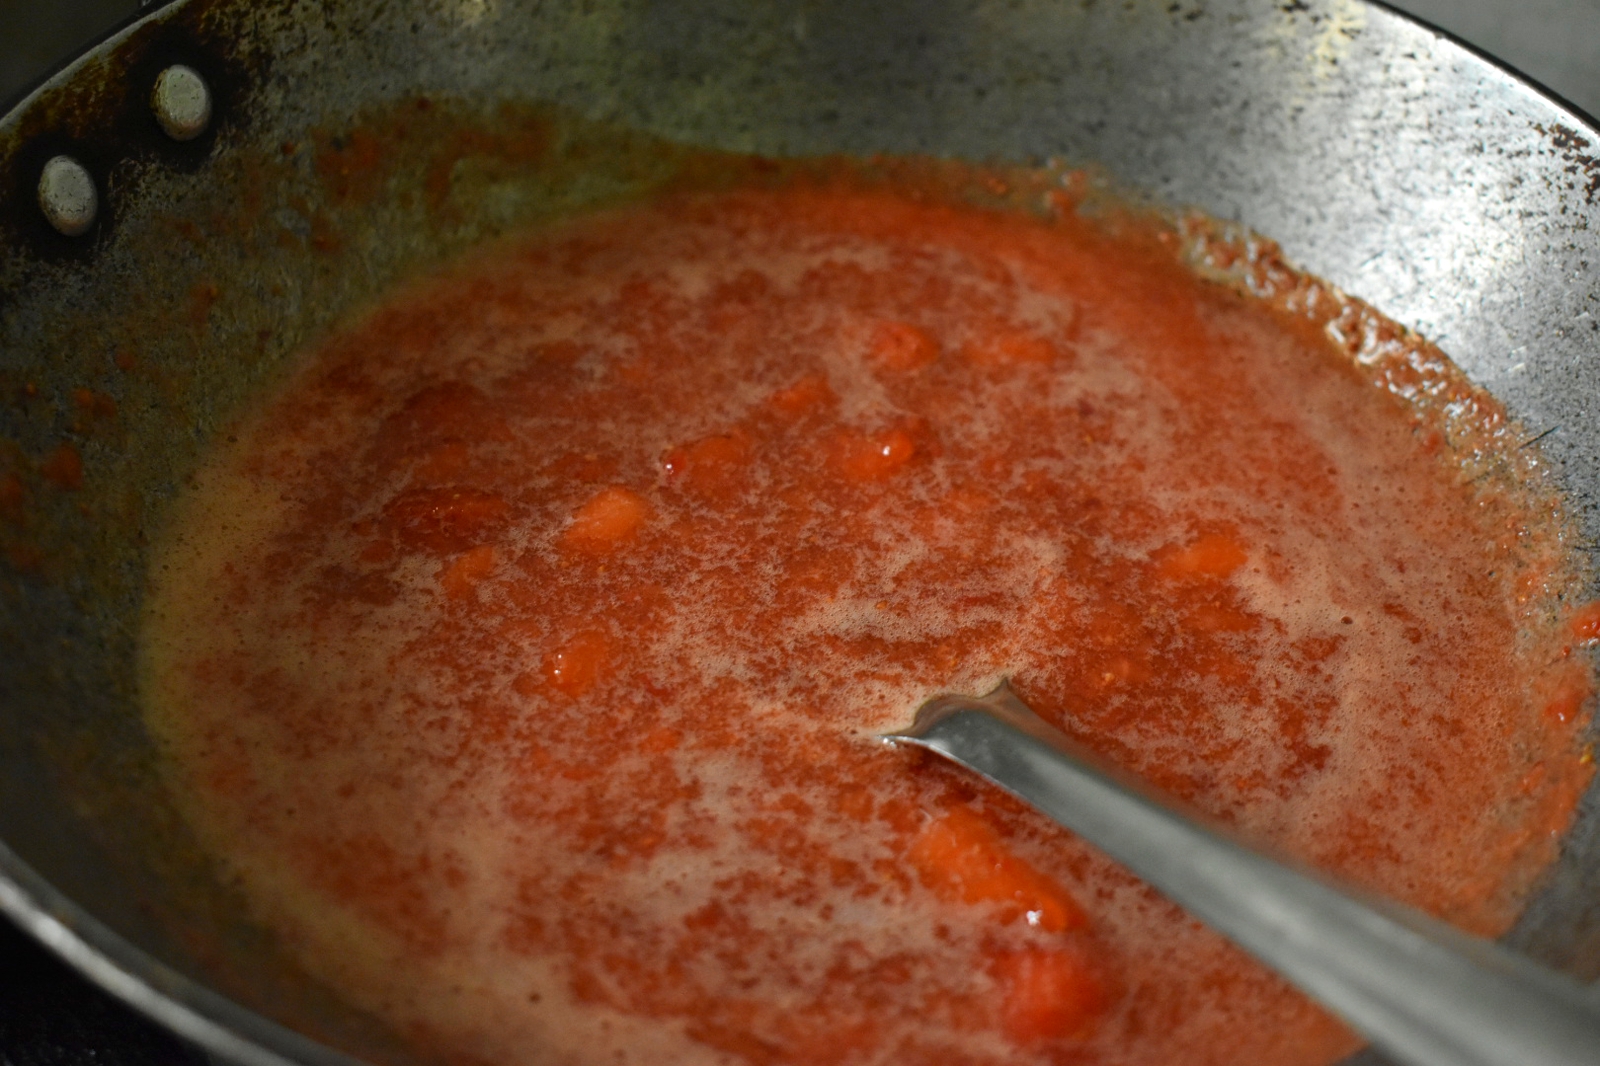
Stir for about a minute & then add all the liquid jaggery (or your sweetener) to the saucepan.
-
Mix well for some time & keep this heating on a medium flame.
-
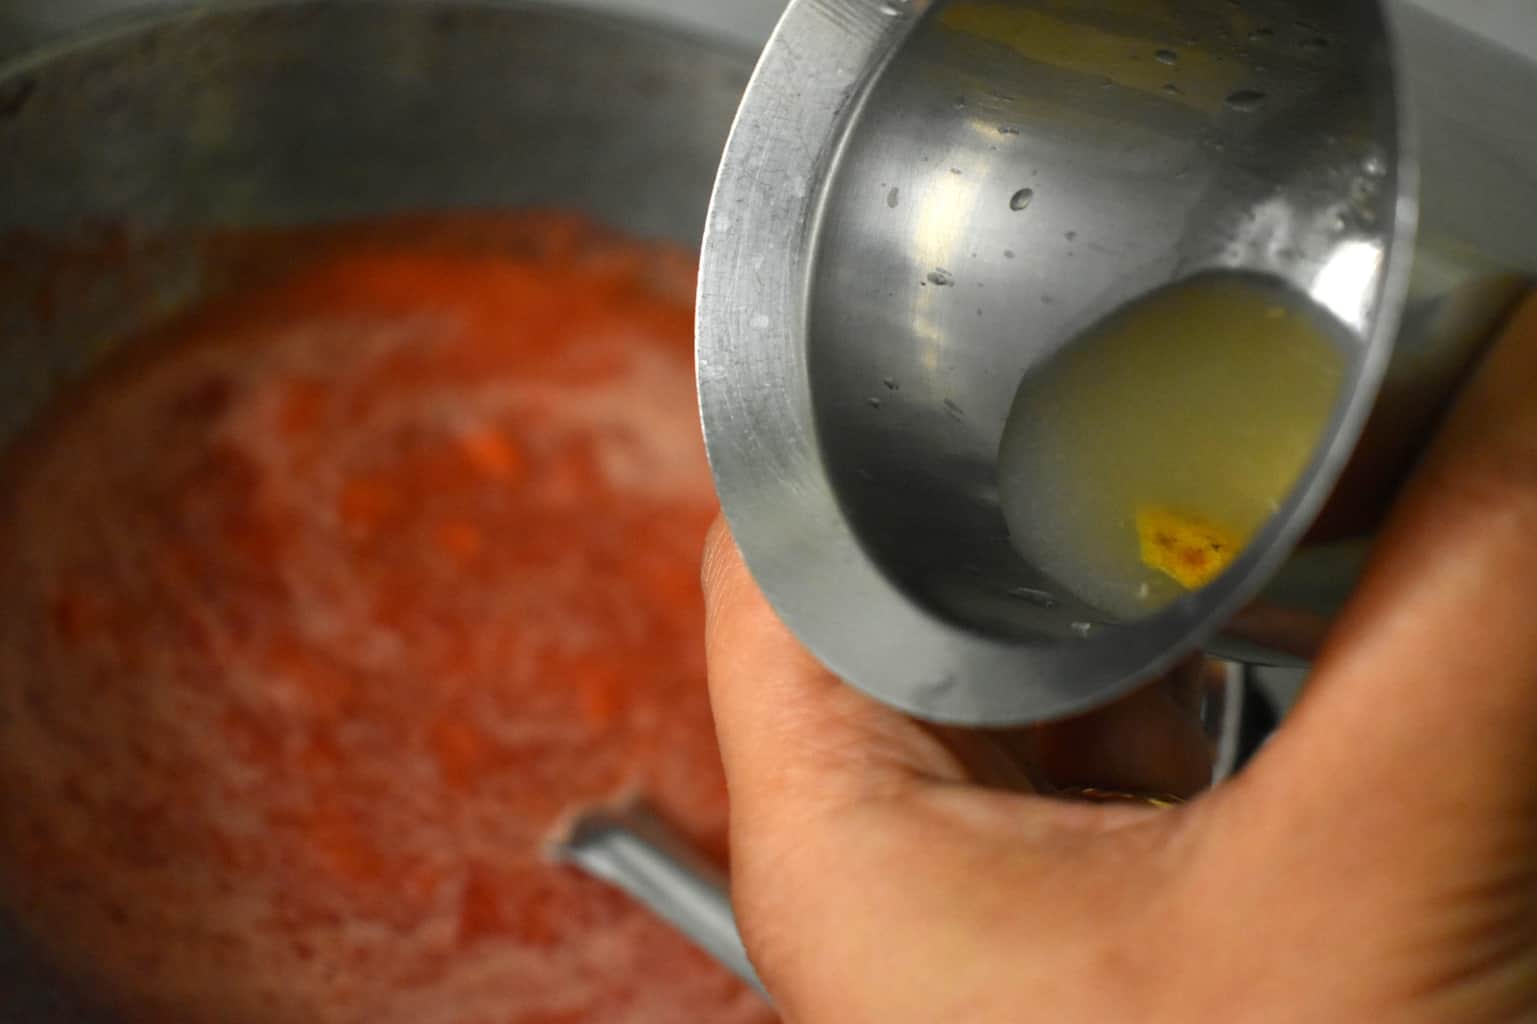
Add the lemon juice, rind & mix well.
-
Look for the time when you see the pureed strawberries leaving their juices into the mixture & the consistency slightly begins to change.
-
Reduce the flame a bit & keep stirring for about a minute or two until the volume starts to decrease noticeably.

-
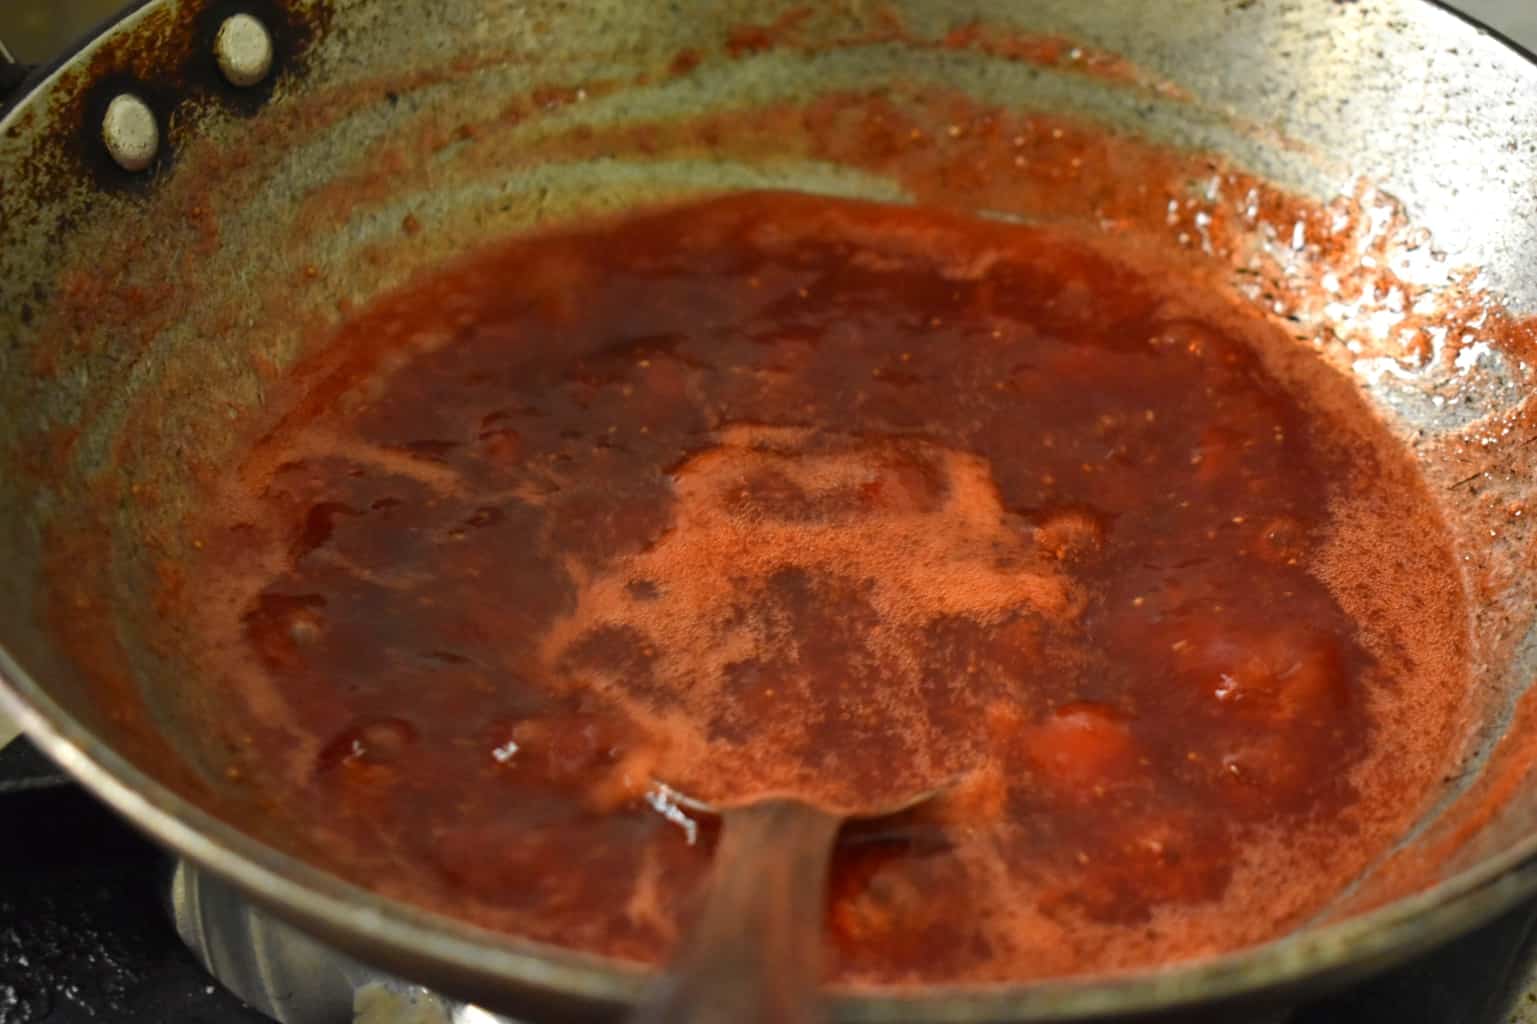
At frequent intervals, keep stirring as you'll notice bubbles & at some point the mixture starts becoming denser & tends to stick to the sides. Don't let the sticking happen. This means the jam consistency is just about to be achieved.
-
The volume keeps getting thicker turning out gelatinous (jelly-like) & darker in color,
-
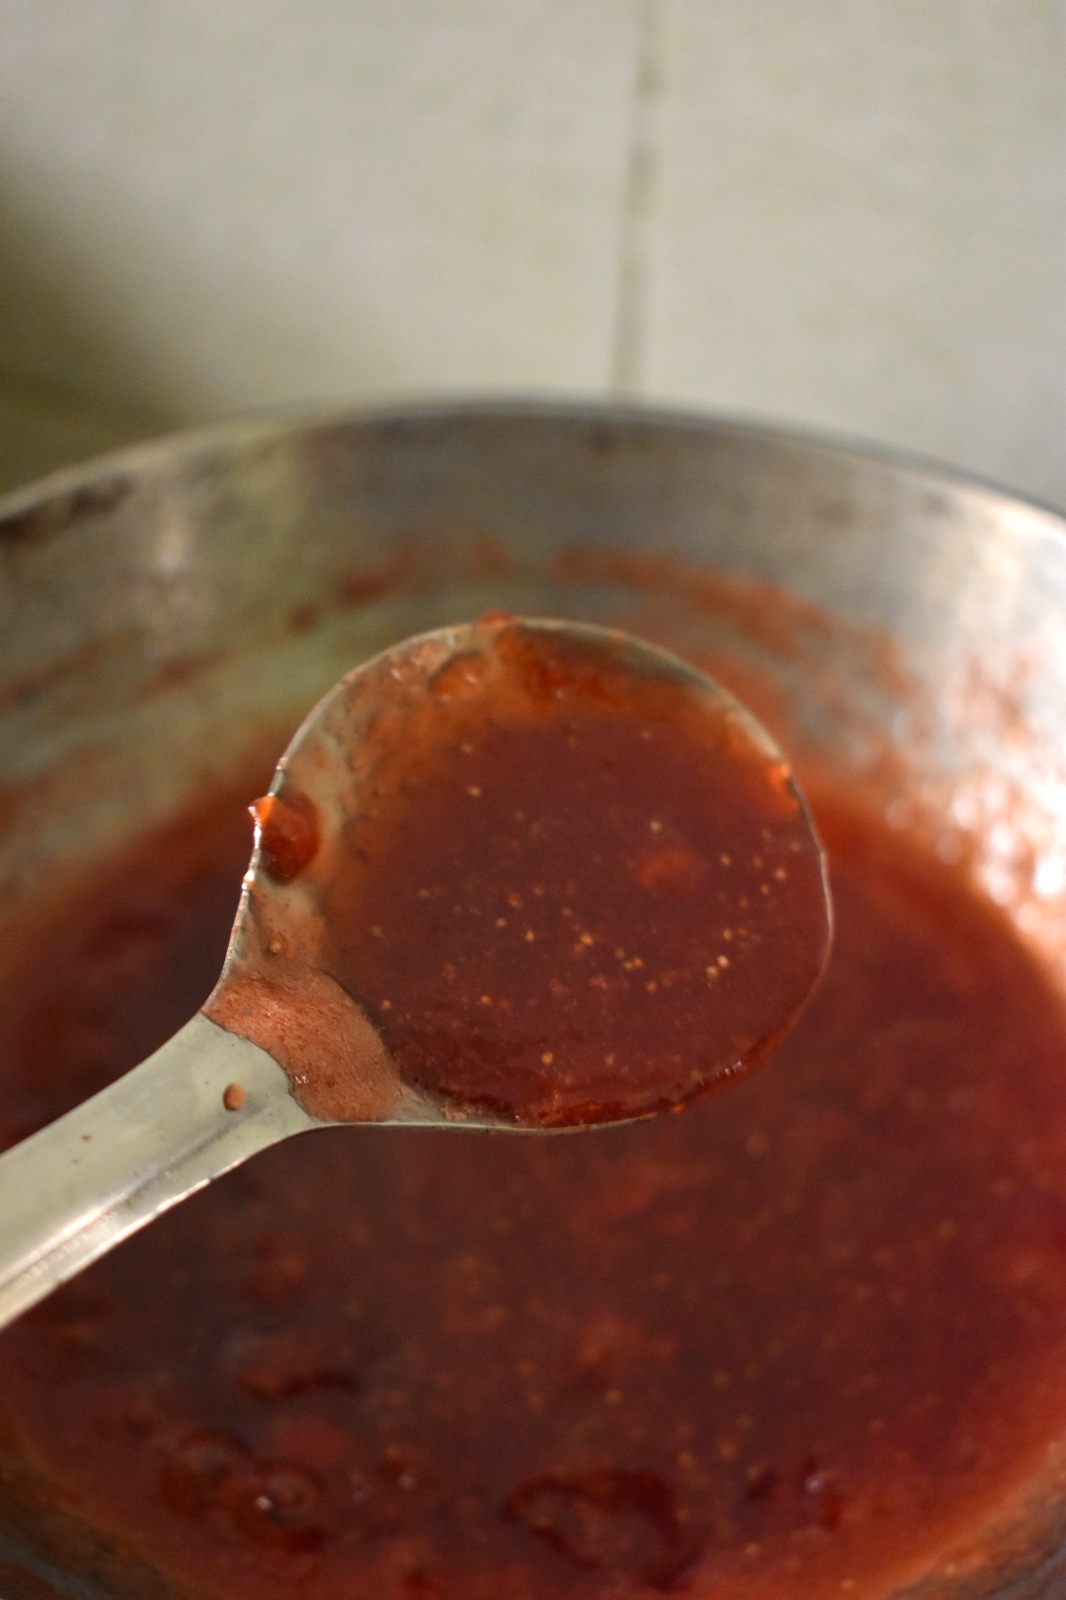
For me, the jam was ready in 25 minutes when I put off the flame.
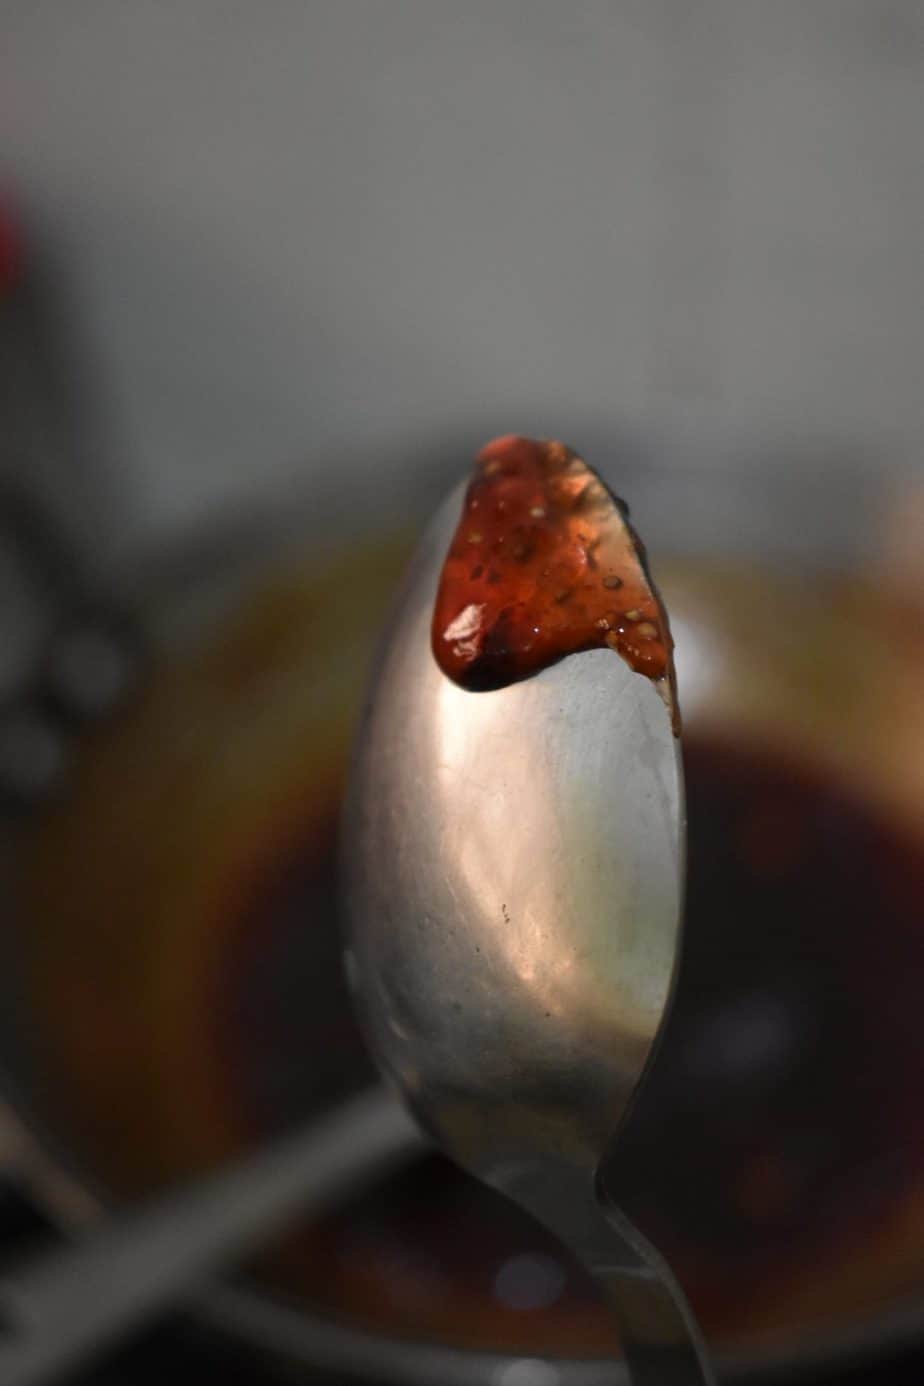
-
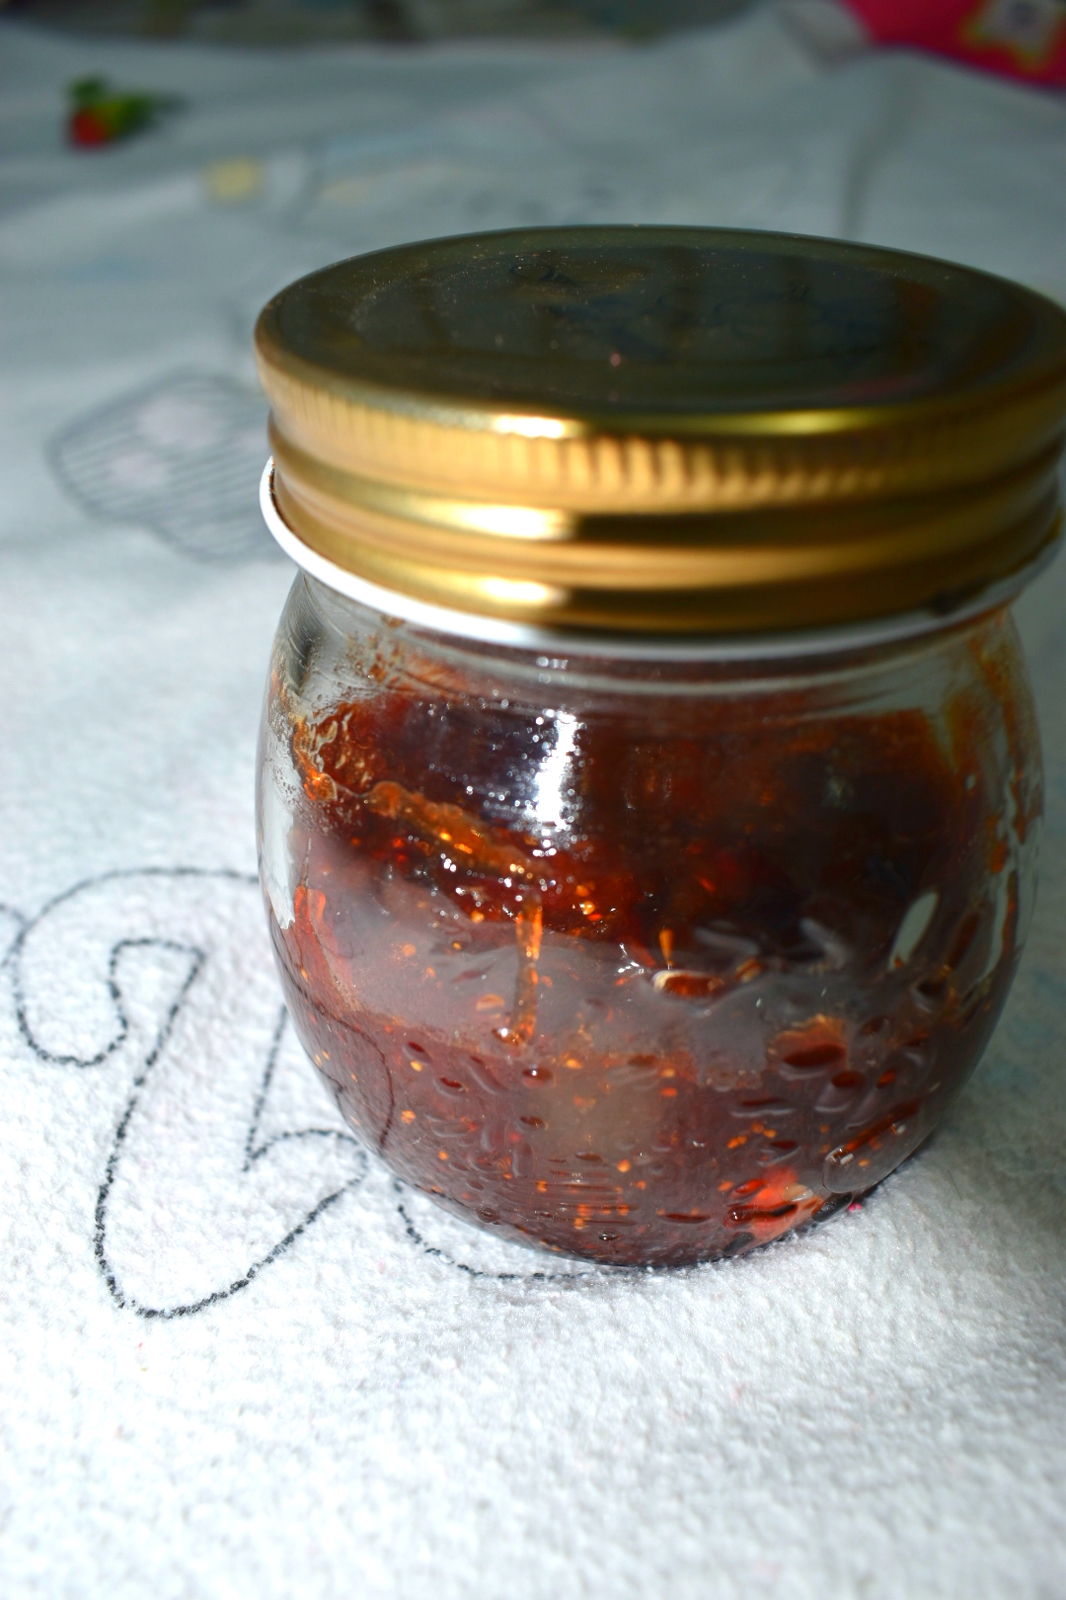
To check if your jam is really done or still needs cooking, do this. Take a spoon & scrape off a tiny part of the jam from the back of it. If the jam doesn't 'flow' or drip down & stays on the spoon, your jam is done!
-
Cover the jam with a lid & wait for it to cool naturally.
-
After the jam is completely cooled, you may then transfer all of it into a clean, glass jar or steel container. You must always store jam in an air tight container & avoid using plastic for the storing purpose.
Recipe Notes
- NEVER store this or any other homemade jam in plastic containers as substances like jams & pickles contain a lot of natural & healthy acids which react with the plastic resulting in toxic variations of the stored food, you intend to serve healthy. This can also affect your digestion process.
- The quantity of the sweetener can be adjusted according to your preference & how sweet your strawberries are.
- You can also choose to just chop all the strawberries into small pieces & start heating them with the sweetener, if you like the characteristic coarse texture of the jam. That tastes great too!
- Keep the bottled jam refrigerated.
- You may totally skip the lemon rind or juice. Nonetheless, adding this to the jam not only acts as a natural preservative, but also renders a unique & pleasant tangy twist to the flavor.